

Join the Effort!
Images and text will be added shortly, for now you can follow the original post on Jack Grimm‘s facebook page.
Here at Flannelbush, we like to make things to help people. If you like to help also and can access a sewing machine, you can make masks and make a difference!
Face mask with pocket for a replaceable filter and replaceable wire at nose bridge.
Cut face piece, 15″×9″(this is a large size, for smaller go with 15×7.5 or 15×8 for medium. You should get 4 pieces with most bolt sizes and the left over scrap can be used for the next pattern piece)

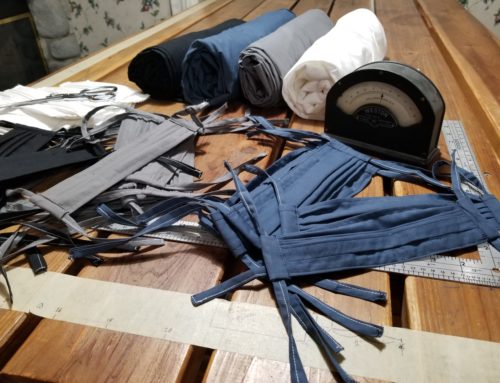
Cut two 2.5×4″ for each mask, these will be the tie holds.

Take face piece, iron short edges in 1/4″ hem, sew in place with a zigzag stitch. If you have no zigzag setting, this will be ok. It just is reinforcement like the other top stitching. I missed a photo of this step, but it will eventually be turned under like this photo.

Now we make the pocket opening. Fold “hamburger style” with right sides together (i.e. printed side/out side of fabric). Measure 2″ into each side, sew from outside edge to inside edge (always reverse a couple stitches to knot) leaving a gap that will be the pocket. We then press it open as in the previous photo.

Top stitch along one of the folds, this part can be tricky because you must turn the work inside out as you sew.

Turn right sides out and now you have a pocket!
Fold again hamburger style with the pocket opening at the very top. The small pocket is for the wire, the big one is for the filter pocket. Press.

Top stitch around the entire piece, 1/8″ everywhere except the top, top-stitch as close to the edge as possible.

Add the nose bridge wire, a plastic twist tie that can be washed and is extra thick is best. Sewing a single seam will leave edges open if you would like to remove and replace the nose wire when you find better ones or if they wear out.

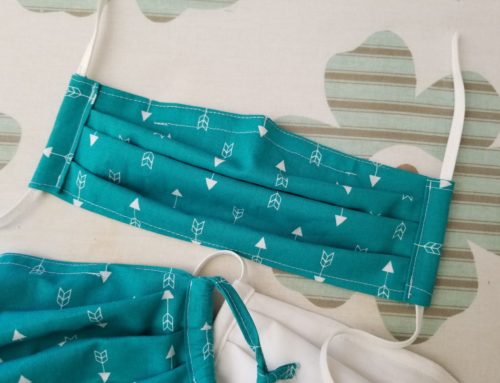
Pleat! Fold from inside, top to bottom. Make them even, about 1/4″ with 3 pleats for loose fit or 1/8-1/16 with 4 pleats for a more round fit (though more challenging to sew). Pin or clip in place. Different fabrics will fold differently, if you unpleat it while pinned you can preview how it will fold around your face (just be sure to pin away from you, and cover the ends if you hold it to your face to test the sizing).

Sew both edges 5/8″ from edge. Trim so the raw edges are even.

Next, tie holds! Take the small rectangles that you cut and put them right sides together on the edge of the mask. There should be about 1/2″ extra fabric over the top and bottom edges. Sew in tight (~12) sized stitching as this seam will support the mask at 5/8″ from the edge.

Fold excess over and baste stitch in place.

Fold over the tie hold so the raw edges and seam are hidden in a loop the ties will thread through.
To make them extra nice (not pictured), I roll the raw edge 1/16″ over twice and fold it so that it overshoots the seam it’s hiding a bit extra. That way you’re sewing through less fabric and finishing the raw edge.
Pin & sew.

Finally, ties! If you have elastic that is best, but since we couldn’t get any, we made ties out of bias tape. I folded it and stitched it to about 1/8″ wide. Soft fabric would be best. Cut them about 12″ long. Thread through tie holds.

All done! Now.. WASH!!! None of us know who has what, if you give or get masks always wash before using. Be sure to read info on how to use masks properly if you haven’t yet. Proper use is crucial to their effectiveness, especially when combined with proper physical distancing and hand hygiene. It is an important tool but don’t let it give you a false sense of security.

Tips:
-The nose bridge wire is important for fitting it close to the face. Try to find sturdy plastic ones, like those that come on electronics, coffee bags, etc. Those can also be washed in the garment.
-Replaceable filters can be made from blue shop towels, vacuum cleaner bags, make up remover wipes, dryer sheets, or anything else that is breathable. Another layer fabric could be used as a washable filter. Find something that gets static-y and possibly give a static charge by rubbing it against something fuzzy before putting it on. At least from information available for filtration, it seems a logical step.
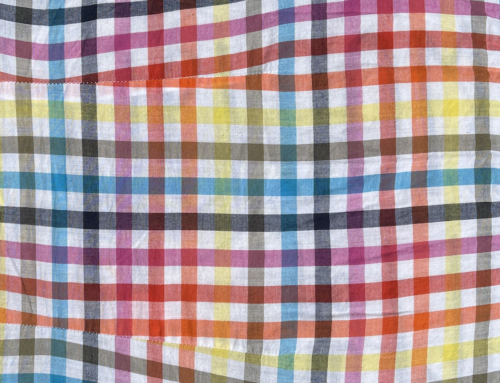
-Test fabric you want to use by trying to blow out a flame through it. You shouldn’t be able to.